-
1
Prep: Wash the surface of the dresser with a mixture of dish soap and warm water. Let dry thoroughly.
-
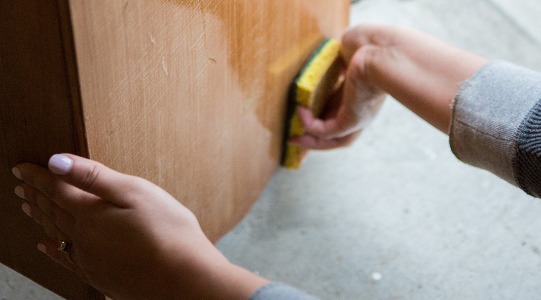
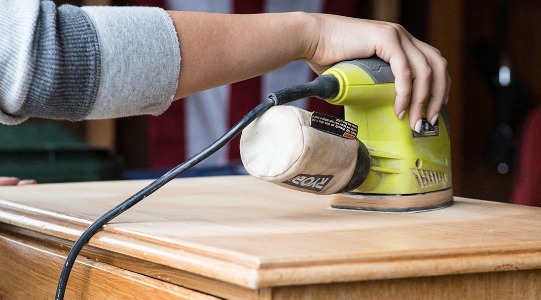
2
Sand: Using medium grit sandpaper, lightly sand all surfaces to be painted. If you don’t have an electric sander, use a sanding sponge or block instead.
-
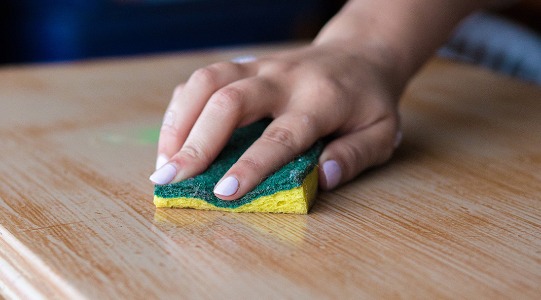
3
Wipe down: With a damp sponge, wipe down the dresser to remove all sanding dust. Follow with a dry cloth to absorb any residual moisture.
-
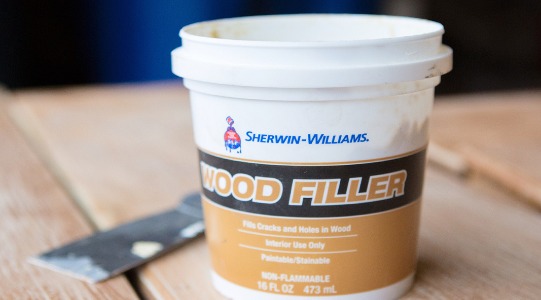
4
Fill holes or nicks: If your dresser shows signs of wear and tear, apply wood filler with a putty knife to fill in any imperfections. This will create a fresh, smooth surface.
-
5
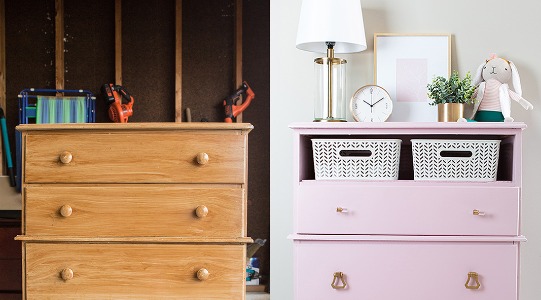
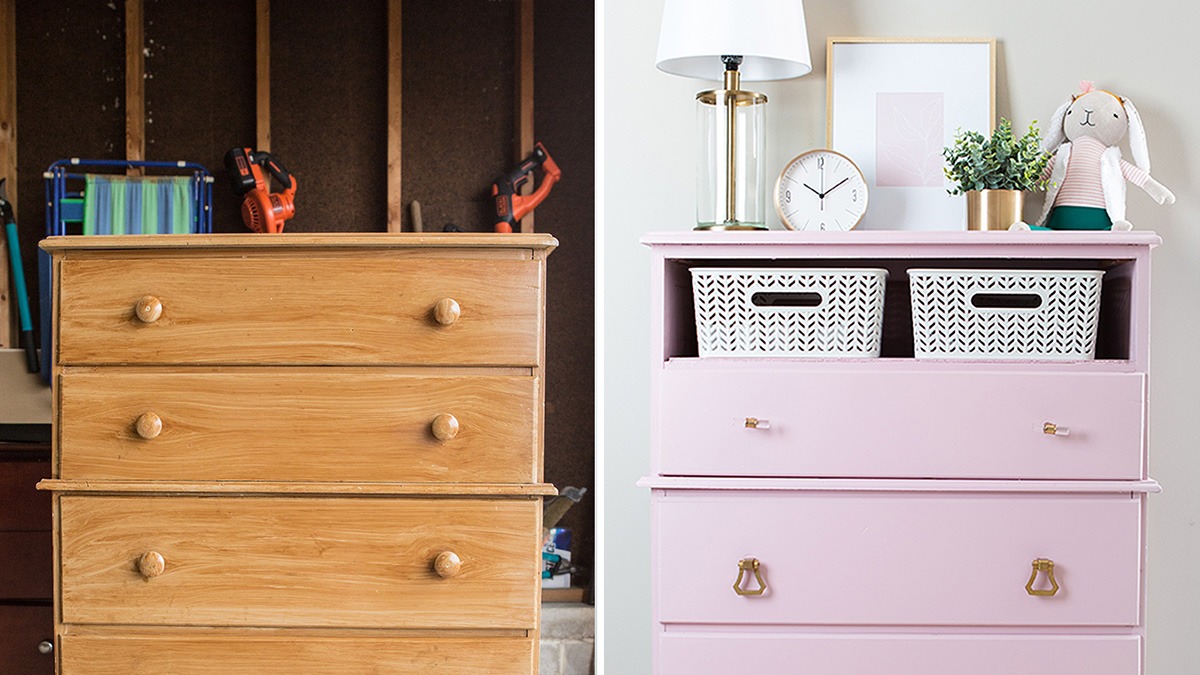
Personalize: For some added character, remove the top drawer to make room for decorative storage baskets.
-
6
Prime: Apply Extreme Bond Primer and let dry for at least 2 hours. Priming adds another layer of protection, creating a smoother, more even finish.
-
7
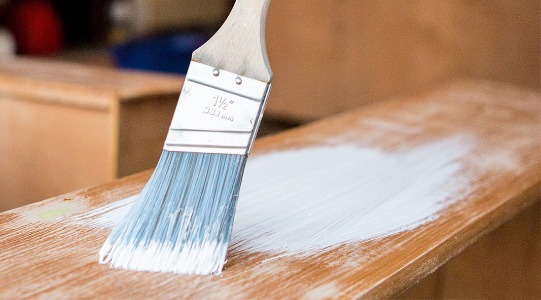
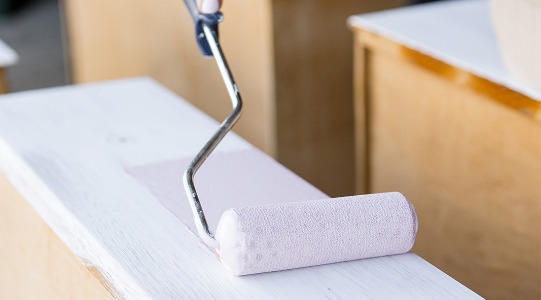
Paint: Pick two colors and paint your dresser! We chose Delightful SW 6289 (Emerald® Interior Acrylic Latex Paint) and Fleur de Sel SW 7666 (ProClassic® Interior Acrylic Enamel Paint). For ease, use a 2” brush on edges and corners and a roller on flat surfaces.
-
8
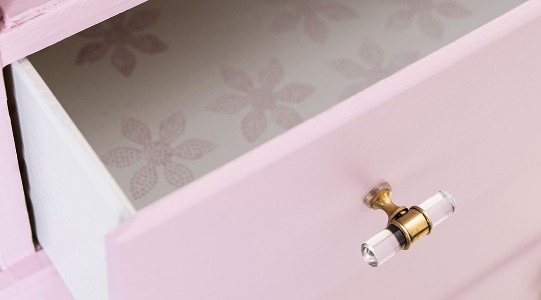
Finishes: Add the hardware of your choice, to give the dresser the exact style you’re looking for.
-
9
Enjoy!
WARNING! Removal of old paint by sanding, scraping or other means may generate dust or fumes that contain lead. Exposure to lead dust or fumes may cause brain damage or other adverse health effects, especially in children or pregnant women. Controlling exposure to lead or other hazardous substances requires the use of proper protective equipment, such as a properly fitted respirator (NIOSH approved) and proper containment and cleanup. For more information, call the National Lead Information Center at 1-800-424-LEAD (in US) or contact your local health authority.
Close