


-
1
Prep
Wash surface of area where entryway gallery wall would be placed. Scuff sand the wall and patch holes as needed.
-
2
Plan
Plan the design you would like to create. Keep in mind objects you would like to feature within your gallery and measurements.
Tip: Cut pieces of paper the size of all the picture frames you want to use. Tape them to your wall to map out the layout of your gallery wall.
Use a tape measure and pencil to mark the corners of your gallery wall at your desired lengths.
Tip: Use a level to ensure your horizontal and verticals borders are true.
Tape off desired area of gallery.
-
3
Paint
Paint with paint roller within desired area using a W stroke. Be careful around the tape edges. Make sure you do not paint outside of the tape.
Let dry for 4 hours.
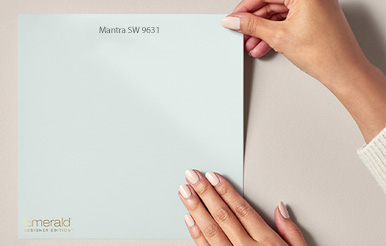
Note: We used SW 7008 Alabaster for the base of our gallery.
-
4
Prep Moulding
Use desired moulding to frame out gallery wall. We used wood moulding.
While you are waiting for the paint on the wall to dry, use a miter saw to cut moulding at 45 degree angles to desired measurement. Always use protective eyewear when cutting. It is important to note that the longest edge is on the outside and matches height or width of gallery wall.
Paint moulding and let dry for 1 hour.
Note: Please keep in mind that bare wood moulding should be primed before painting.
Tip: Some hardware stores sell pre-primed moulding and are willing to make a few cuts for you
-
5
Apply Moulding
If your moulding is lightweight you can use construction adhesive on the back of moulding.
Note: Heavier moulding may need to be nailed to the wall.
Adhere mouldings to form gallery wall to the edge of the painted gallery wall area.
Allow to dry for about 2 hours to make sure that mouldings are adhered to wall.
-
6
Hang Artwork
Hang any photos, painting, or artwork you would like to display.
-
7
Enjoy!
Disclaimer:
WARNING! Removal of old paint by sanding, scraping or other means may generate dust or fumes that contain lead. Exposure to lead dust or fumes may cause brain damage or other adverse health effects, especially in children or pregnant women. Controlling exposure to lead or other hazardous substances requires the use of proper protective equipment, such as a properly fitted respirator (NIOSH approved) and proper containment and cleanup. For more information, call the National Lead Information Center at 1-800-424-LEAD (in US) or contact your local health authority.
Close