Close


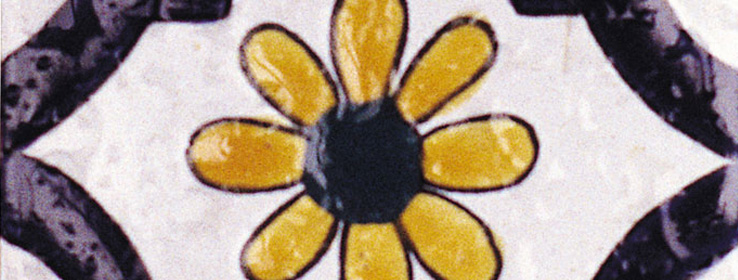
Wall ceramic tiles are installed to be permanent, but colors and styles do go out of fashion, leaving dated, unsightly tiles in their wake. Discover how to give old tiles a face-lift and revamp a space without overextending your client's budget.
A room lined with dated decorative tile can look tired, even tacky. When you're working with clients who want to update a room without spending too much money, consider expanding the room's possibilities by working with them to paint the existing ceramic tile.
Removing existing tiles can be costly. If your customers decide to take on this challenge, they'll be dealing with broken ceramic pieces, the expense of repairing existing or applying new drywall, and a room that will be virtually useless for several days or more.
Before you or your clients begin a tile-painting project, there are a few things you should know.
You probably shouldn’t try to paint tile in high-traffic or high-moisture areas. Avoid moist areas of kitchens and bathrooms and avoid painting floors and countertops. Instead focus on areas of the bathroom and kitchen where water seldom comes in contact with the tile. Areas like mudrooms or laundry room walls are suitable as well.
Most ceramic tiles can be painted, as long as it's not frequently subjected to water or heavy wear. For instance, you can paint tiles on a bathroom wall, but avoid painting tiles that line a bathtub, shower, or that is on the floor or a countertop. Frequent exposure to moisture could cause the newly applied paint to blister and peel. Heavy abrasion from foot traffic or countertop use could cause the paint to wear prematurely.
Many experts have doubts about painting tile because the results can vary, depending on the type of tile, the products used to refinish them and the process followed.
Get started by removing grease, grime, dirt and mold with a good household detergent. Once dry, give the tiles a quick scuffing with sandpaper/abrasive cleaner to dull the surface gloss. Sanding or dulling is recommended on glossy, extremely hard surfaces for maximum adhesion. Follow up with a clean damp rag to remove any sanding dust or excess cleaner on the surface.
Repair chips, cracks and other surface damage before painting. If using caulk or epoxy to repair damage, follow the manufacturer’s drying recommendations before painting. As with any paint job, use tape to protect areas adjacent to the tile and remember before using, carefully read cautions on the label.
Once cleaned and prepped, apply a test sample of Extreme Bond™ Bonding Primer in an inconspicuous area. Extreme Bond Primer is a high quality waterborne acrylic primer designed to prime hard, slick, glossy surfaces. Refer to the directions on the primer container for recommendations on application, dry time and cleanup.
Once you have established good bonding/adhesion, you can prime the entire surface. Keep in mind that any surface prep short of clean, dry and dull or adhesion is poor, may compromise the service length of the system used.
Many customers request the use of high quality finishes, for these types of applications. For that reason look at Emerald® Interior Acrylic Latex Paint, Emerald® Urethane Trim Enamel, Duration Home® Interior Acrylic Latex Paint and even Harmony® Interior Acrylic Latex Paint. Refer to the directions on the paint container for recommendations on application and cleanup. After applying the paint, allow the surface to thoroughly dry before being put back into service.
While some contractors and designers are wary of painting tile, others have found satisfying success with the process, when it's done properly. Results can vary depending on products used, location, and the quality and composition of the tiles being altered. Consult a professional contractor if you're unsure about the process.


