
-
1
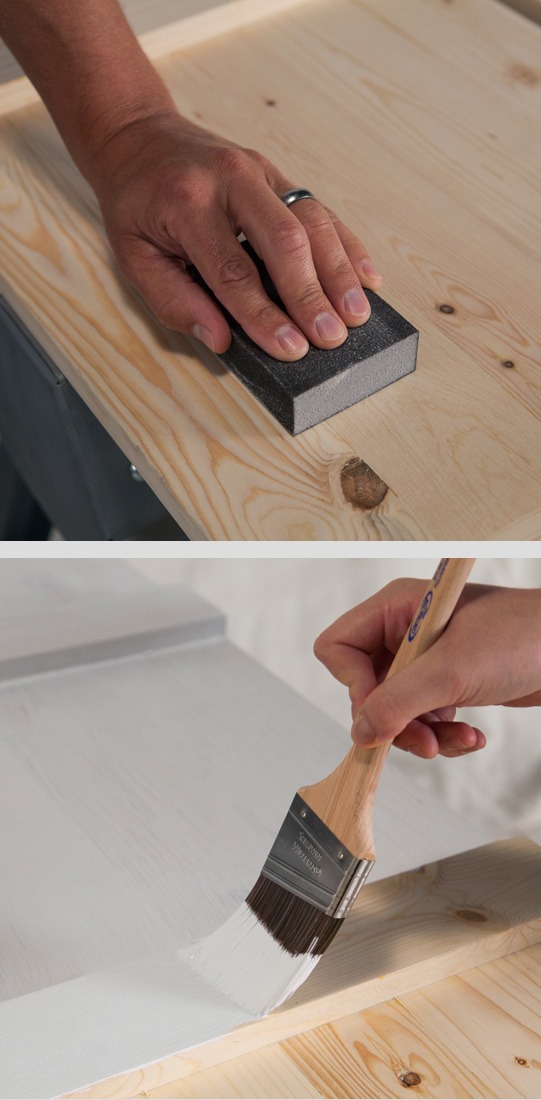
Start by prepping your surface. If you are painting wood shutters, survey them for rough spots and sand as needed. If you are upcycling old shutters, be sure to give them a good scrub with soap and water, then let them dry completely.
Use a primer for best color coverage, especially when painting untreated wood. Ask your local Sherwin-Williams store for other priming tips.
-
2
Dip your 2.5-inch Contractor Series Nylon Polyester Angle brush into the paint and start to cover your shutters. We like to use this brush for projects like shutters that have lots of nooks and crannies. Allow the paint to dry according to the label’s recommendation, then add a second coat to ensure proper coverage.
-
3
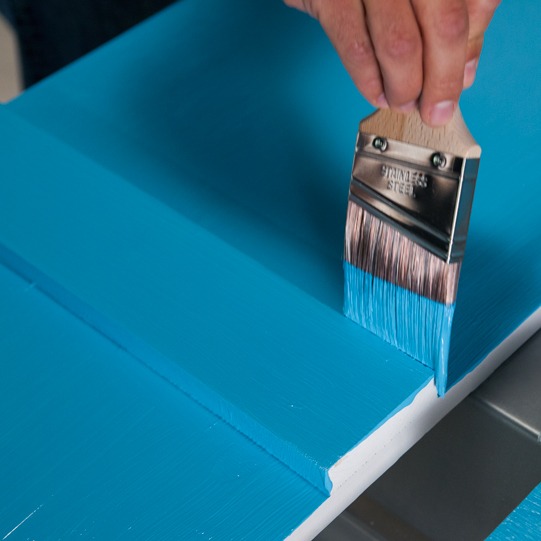
Once you're ready to paint, open your paint and give it a good stir. Be sure to use an exterior paint for this project. We used Sherwin-Williams SnapDry Semi-Gloss Door & Trim Paint.
-
4
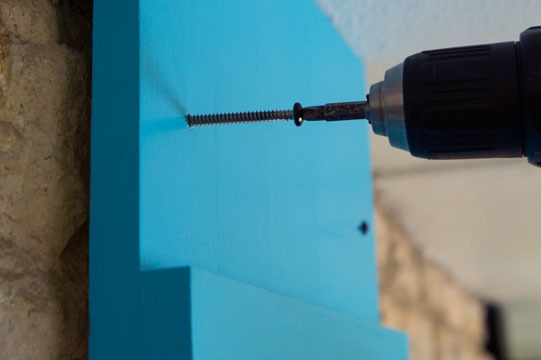
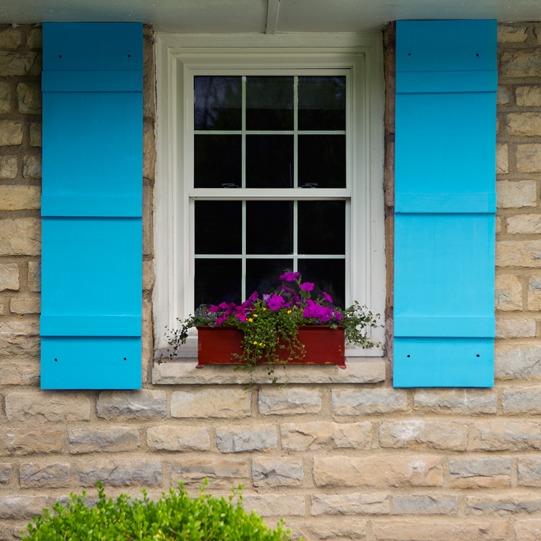
Now that the paint is dry, all that's left is hanging your shutters. We added another element of color with fun window boxes, but the shutters alone will do wonders from the curb!
Clean up: Always clean your brushes for future use. Learn how to properly store and dispose of paint here.
Close