Close


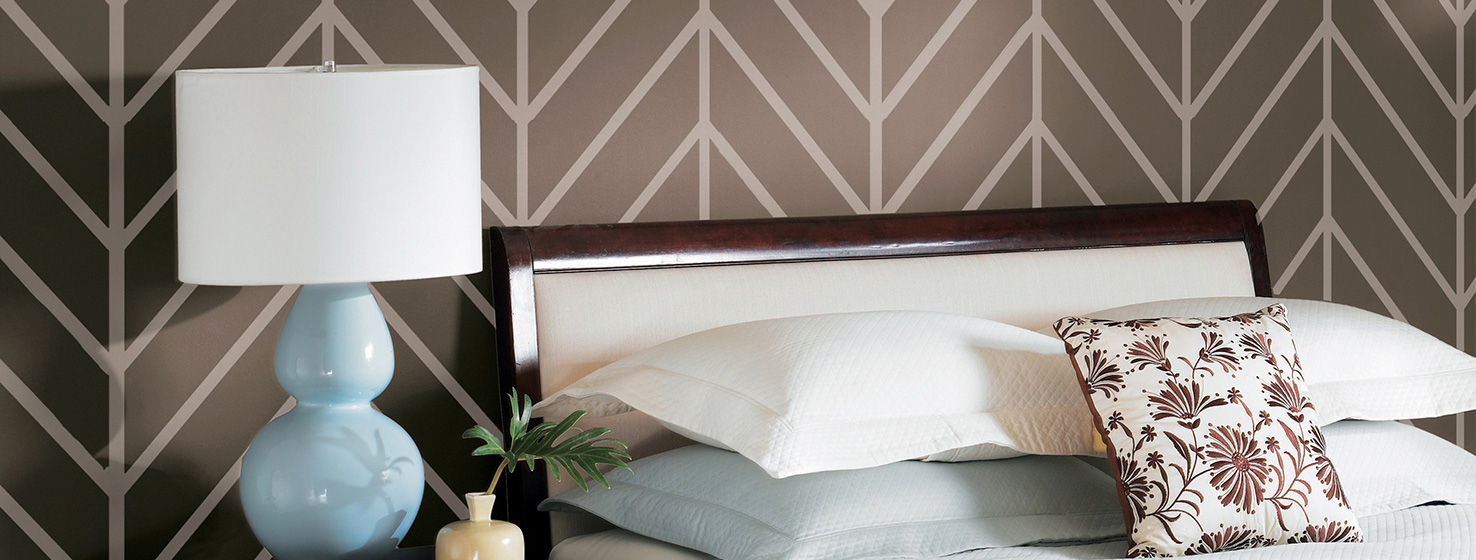
Technique: Herringbone
Supplies Needed:Two different paint colors – base coat and coordinating color for herringbone pattern
- NOTE: You may prefer to paint the pattern utilizing the same color in different sheens. Plan accordingly when purchasing paint.
- 2-inch painter's tape
- 9-inch roller frame
- Roller cover with ¾-inch nap
- Mini roller frame
- Roller cover with ¾-inch nap
- Two paint trays with liners
- Tape measure
- 1-2" small paint brush
- Level
Step 1:Prepare for painting by clearing the room of furniture, draperies, wall accessories and hardware. Cover the floors with drop cloths, being careful to lay the cloth as close to the baseboard as possible. Open a window or door to ensure proper ventilation.
Step 2: Using the 2-inch painter's tape, apply tape along the top edge of the baseboards. Also tape any door or window frames that will not be painted.
Step 3:Pour enough of the basecoat paint into the paint tray to cover the bottom of the pan. Using the 9-inch roller, paint your base coat of paint and let dry for three hours.
• Tip: Apply in "W" shapes to avoid streak marks.
Step 4: Once your base coat is dry, measure the width of your wall and divide the width into equal vertical sections. The more sections you make, the more herringbone Vs you will have and the skinnier the pattern. We recommend creating about 12-inch sections to produce a pleasing pattern in most spaces. Mark the vertical sections using the 2-inch painter's tape.
• Tip: Apply in "W" shapes to avoid streak marks.
Step 5: Starting at the bottom of your wall, place a strip of painter's tape at an angle to create a V. Mark off every 10 inches, and repeat until the entire row is complete.
• Tip: Use a piece of 2-inch tape to function as a spacer. Place it up against your last piece of tape, and then add another piece above it. This ensures the stripes are at the same angle, and are exactly 2 inches apart.
Repeat step 5 for each vertical section, angling the tape of adjacent sections to create the V.
• Tip: Use a level to ensure the V is consistently angled.
Step 6: Pour a fair amount of the second paint color into a paint tray. With a small roller, paint the second color in the space between the tape. The area underneath the 2-inch painter’s tape will remain the base coat color.
Step 7: Let the paint dry for at least three hours. Remove the tape by pulling it off slowly, angling away from the freshly painted area as you pull.
Step 8: Touch up any spots with a small brush.