Close


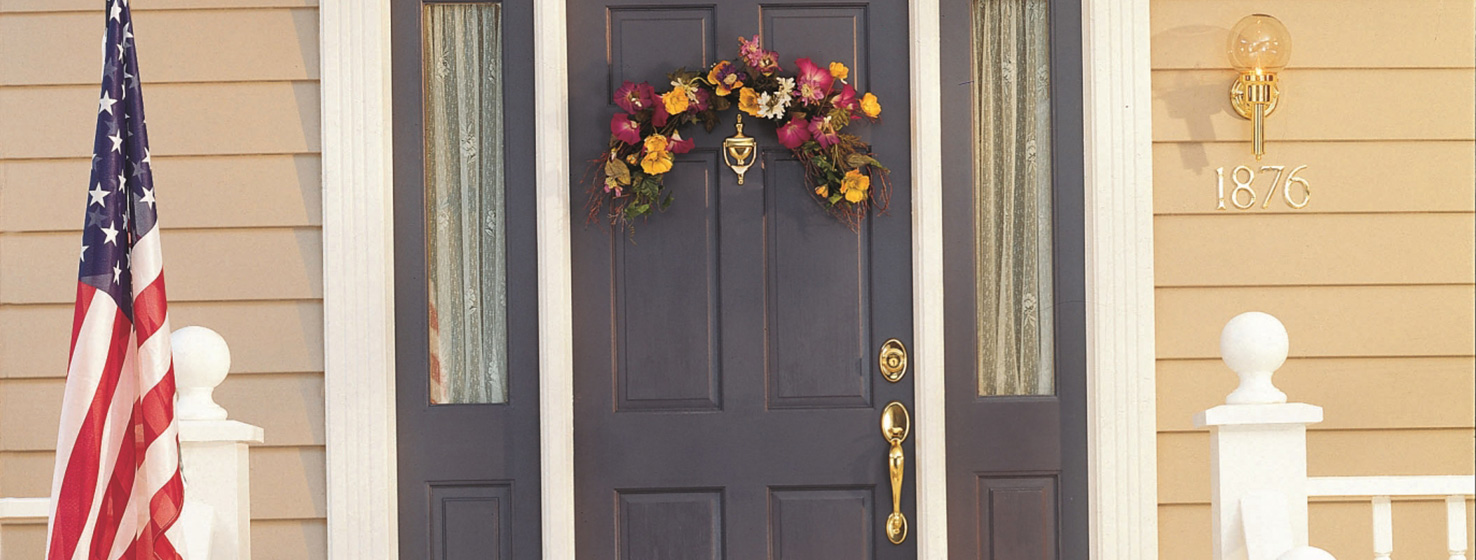
Technique: Front Door
Supplies Needed:Duration Exterior Paint in the color of your choice
Primer
2-inch painter's tape
Sponge
Fine-grit sandpaper
9-inch paint roller
Roller cover with ¾-inch nap
Angled brush
Paint tray with liners
Step 1: Remove the door and place on sawhorses outside or in a well-ventilated area. Remove the hardware and hinges, and cover any glass or windows with painter's tape.
Step 2: Clean the door by scrubbing the surface with a wet sponge. Then, lightly sand the surface with the fine-grit sandpaper. Allow the door to completely dry before painting.
Step 3: In a paint tray, pour enough paint to cover the bottom of the roller pan. Using a 9-inch roller, begin painting all six sides of the door. Paint the edges first using an angled brush. Using a 9-inch roller, fill in the center area, working from top to bottom. Finish with the frame and jamb. If the door swings out, paint the hinged edge. If the door swings in, paint the lockside edge.
• Tip: If you are making a significant color change, it's recommended to use a primer first.
Step 4: Paint the door with two to three coats. The darker the color, the more coats needed. Don't use too much paint or let the paint puddle. Let the door dry for several hours or overnight for best results.
• Tip: If you allow your door to dry overnight, screw a piece of cut-to-size plywood into existing hardware holes to cover the door opening.
Step 5: Slowly remove the painter's tape and reattach hardware. Hang your new door and enjoy!