INSPIRED PROJECTS
How to Apply Whiteboard Paint

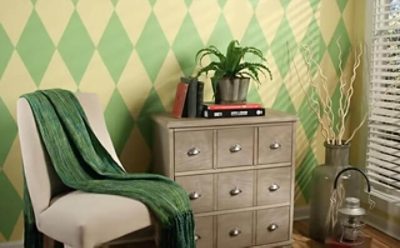
Scribble down your thoughts or create a temporary work of art by turning nearly any surface into a whiteboard with Sketch Pad™ Dry Erase Coating by Sherwin-Williams. Try this easy DIY paint project and you'll be a master behind the marker in no time.
Project and images provided by Elba Valverde at Live Colorful
Cost: $$
Skill Level: Intermediate
Duration: 1 day

STEP 1
Tape
After you've laid down a drop cloth, use painter's tape to define the area you are painting.
STEP 2
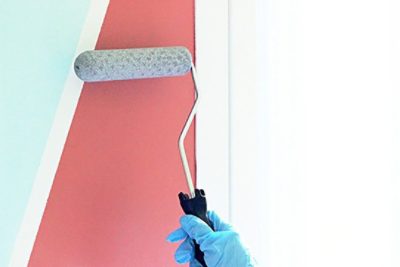
Add Color
Apply two thin coats of paint in colors of your choosing with an angle brush, allowing each coat to dry.
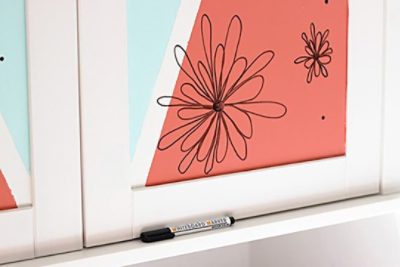
Tip: For this project, we used two colors – one for personal notes and another for work notes.
Tip: Depending on the current color of the surface, you may need to prime before you paint.
STEP 3
Remove Tape
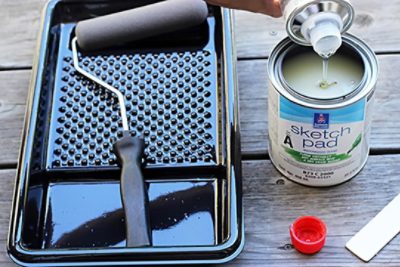
Prepare the Sketch Pad™ Dry Erase Coating according to the instructions on the package.
Colors We Used
Like what you see? Here are the shades we used for this project.
STEP 4
Apply Coating
Apply the mixed coating using the applicator that comes in the Sketch Pad™ kit. One coat is all that's required, but if you'd like to add a second, apply it within one to seven days, before the product fully cures.
Wait seven days then start writing on your new whiteboard surface with any dry erase marker.
Tip: Sketch Pad™ appears white when wet, but dries clear.
WHAT YOU'LL NEED
Project Supplies
PAINT
BRUSHES, ROLLERS & FRAMES
TAPE
OTHER TOOLS & SUPPLIES